Some of them were over complicated. The version I ended up doing was similar to another I found but with just a few tweaks.
It is very simple and can take as little as 2 hours to convert a Freezer in to a Keezer.
There are two main things to consider when building one ( apart from how much beer you want to keep in there) and they are how to keep the temperature constant and how not to destroy the freezer in the process of conversion. There are many coolant lines in the skins of the freezer so you can't puncture or pierce holes in the sides.
In order to over come the second of these problems you need to build a collar for the freezer. This collar adds extra headroom for kegs inside and allows you to put taps/lines and probes in to the freezer without puncturing the freezer walls.
You can create a collar that hinges which will help lifting kegs in and out, or you can create a fixed collar. We opted for the fixed collar which is easier to build and I kind of figured lifting a keg an extra few inches won't hurt.
To start with you need some wood for the inner collar 4 x 1 and some wood for the outer collar 6 x 1 We used pine as our keezers are not going to be on display anywhere but if you want a fancy finish you can choose what ever wood or finish you like for the outside.
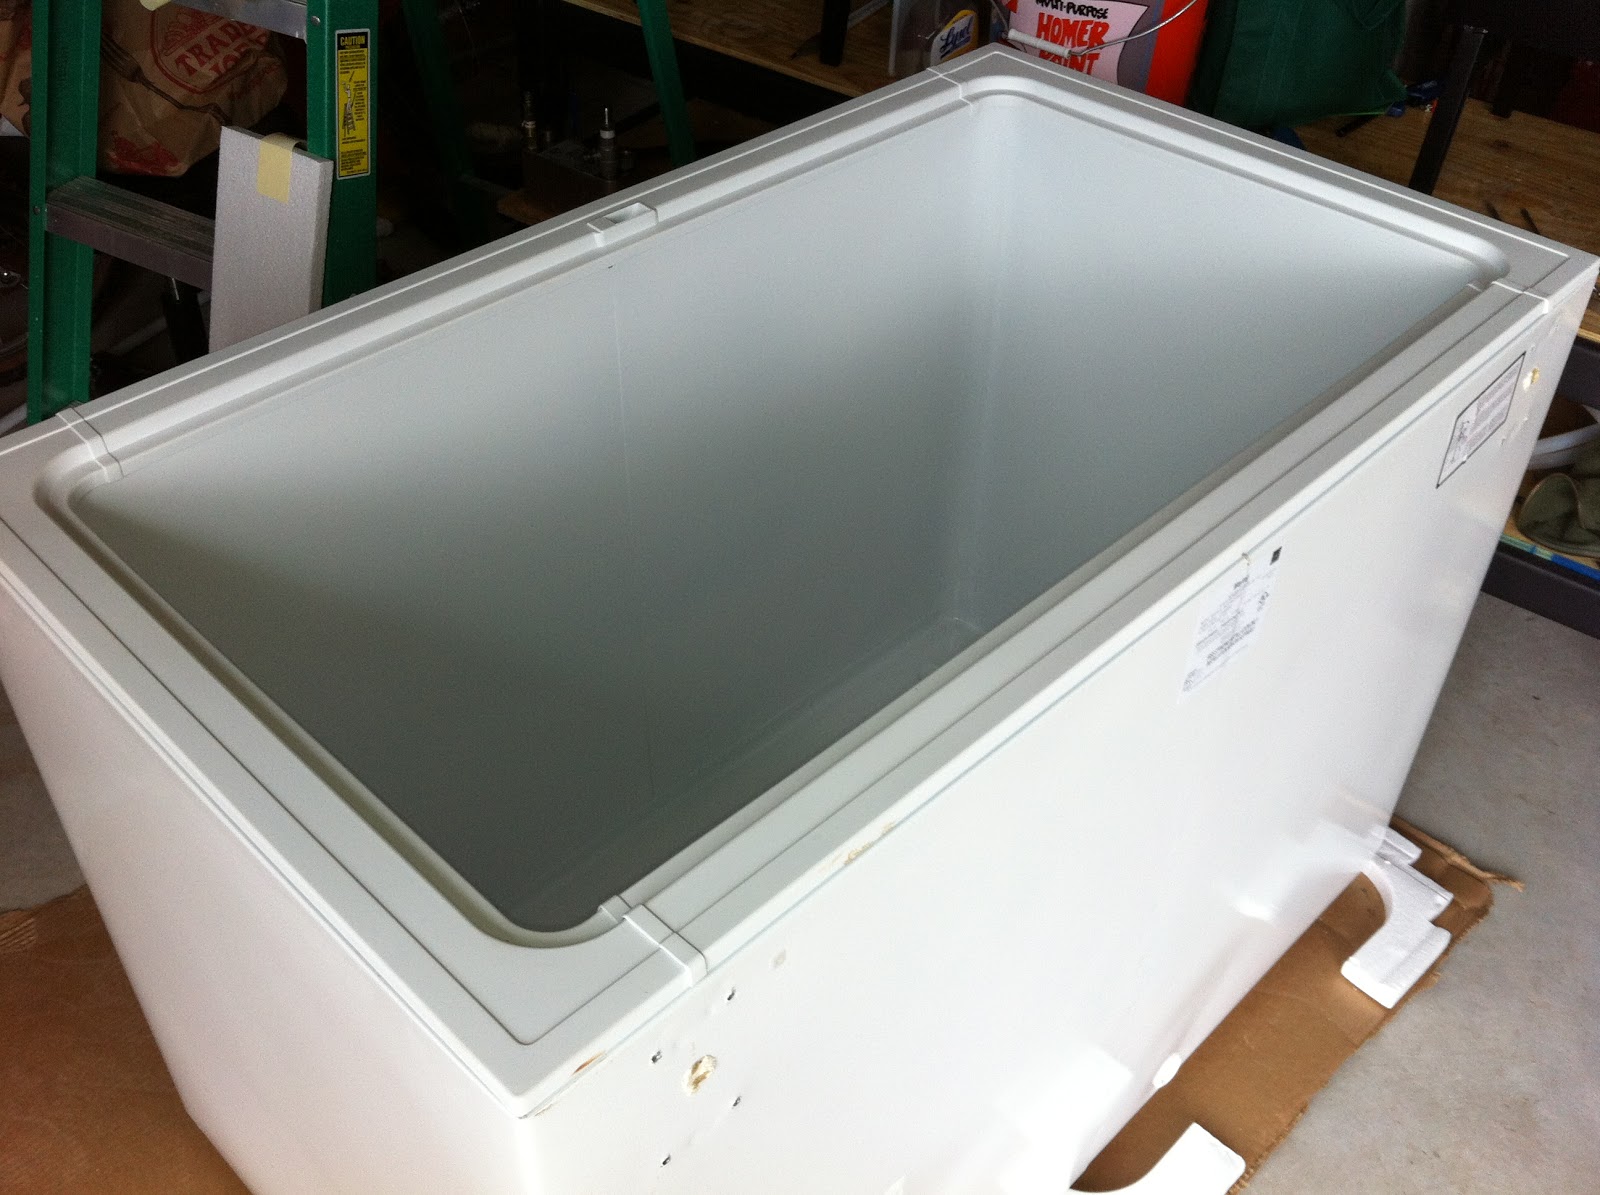
Step 1) Remove the Freezer lid.

Step 2) Cut the wood to size. What we want to achieve here is the inner collar sits on top of the freezer and comes perfectly flush with the edge of the freezer. The inner collar is a 4 sided box basically made from the 4 x1 wood.

Step 3) Cut the outer collar to size. The outer collar only needs to be on the sides and the front of the freezer. Not the back. The outer collar forms a 2 inch overlap around the edge of the freezer and holds the collar in place. To get really neat joints I recommend a mitre saw.

Step 4) Glue with wood glue or no nails the inner and outer collar pieces together. Use clamps to ensure the wood is secured and let dry before continuing.

Step 5) Take the glued pieces and form the box. Secure the edges together using 90 degree right angle brackets and screws. Also it does not harm in adding a little no nails to the joint for extra stability.


Step 6) Using rubber door sealer ( can be bought from any DIY store) cover the bottom of the inner collar ( the bit that is going to rest on the freezer itself ) completely and take care to carefully mitre the edges and leave no gaps as in the picture below.

Your collar is now almost complete. The pictures below give a good idea of what the collar should look like on and off the freezer.


Step 7) The next step is to simply add some insulation to keep the cold air in. We used 1 inch thick hard polystyrene insulation for this and simply used screws and washers to secure it to the collar.

Step 8) The collar can now be sanded down and painted/varnished or finished in whatever way you like.
Step 9)Screw the Freezer lid back on to the collar, making sure it fits snuggly and securely. Checking it opens and closes correctly
Step 10) Now we have to make sure that the temperature can be controlled because you don't actually want the beer to freeze right? We installed a Johnsons controls A419 temperature control unit. These units sit inline with the freezers power and turn the freezer on and off within a preset temperature range. They are very effective and well worth the money. They can be bought on amazon for about $70.
we simply wired them up and mounted them on the side of the collar. We drilled a small hole in the side to insert the temperature probe in to the freezer.

Here is one I completed earlier :-)

Now all you need to do is siphon your beer in to the keg, connect the gas and let it chill ready to serve.


At this stage we have not installed any taps or a tower directly in to the Keezer. We simply have a small length of hose and a valve at the end to serve the beer. However taps are coming so check back in a few weeks and I might have this done by then.
Dave, will you be building a dual stage thermostat for your fermentation fridge? If so, would you post photos and guide of how you did it?
ReplyDeleteTechnically you don't need to build a collar for a keezer since you could hook up a picnic tap. Might be an easier way to get started for someone on a limited budget after buying kegging equipment.
ReplyDelete