I wanted to take the opportunity to share some outstanding news. I have
been given the opportunity to be a partner in the Triangle's newest
craft brewery-in-planning, Fortnight Brewing Company (also on Facebook and Twitter)!
In the few months that I have been in the area, I have been able to
experience first-hand the eclectic and exciting craft beer community
that exists here in North Carolina, and I am thrilled to know that we
are moving along a path to become part of this outstanding group.
As more and more people are getting introduced to craft beer and the
flavor that this often-overlooked beverage can have, we have found a
niche in the market that needs to be filled. At Fortnight Brewing
company, we will be producing a line of English inspired beer that will
include some session beer (low alcohol beer that is so full of flavor,
you have to have several in a "session"), as well as some traditional
cask-conditioned "real ale," not to mention the exciting seasonal and
special releases we have planned!
I am excited because we will be able to combine some premium UK
ingredients with fresh local ingredients to produce some great variants
on traditional English styles. We hope to produce everything from our
session pale ale to an imperial stout, and everything in between. Each
beer we produce will be inspired by the long history of brewing in
England, and incorporate the love and fire for craft beer that exists
here in America. If we can capture that in a pint glass, then we have
succeeded.
It is going to be a fun process in the upcoming months as we
continue with not only brewing beer, but in marketing and branding
ourselves and navigating the sea of brewery regulations, with the goal
of opening our doors by the end of 2012.
We have put together a team of professionals (including Stuart, Chris and Mo)
that are all invested in seeing Fortnight succeed, and we are all
learning more and more about the process every day. We are excited to
share our passion, and of course our beer, with the great local craft
beer community.
I will continue to update this blog with my experiences not only in
homebrewing, but in entering the NC craft beer market. Also stay tuned
for the new fortnightbrewing.com website where we will be posting all of our updates and upcoming events.
Already on the calendar are:
4/28 - Brewgaloo Festival
5/6 - Casks for a Cure 2
6/1 - Tasting at Bottle Revolution
We look forward to seeing you there and sharing a beer - Cheers!
Thursday, March 29, 2012
Wednesday, March 28, 2012
How to build a two stage thermostat for a Fermentation Fridge
Controlling fermentation temperature can be difficult in the home. There are many different approaches to keep temperatures in the yeast's ideal zone.
With the correct equipment a Two stage controller can be set up and operational in a matter of a few hours work.
Below you can see the technical details for the temperature controller that I bought.


Below is a picture of the device. Be careful to make sure it is the dual stage sensor that you order

There are many similar Blogs and posts that cover this kind of device and how to build a fermentation fridge. I made a few tweaks and added a couple of LED's in to the box to let me know when the cooling or heating relays were energized. this helps trouble shooting
Here are the base components.


This front side I have drilled two holes for the LED's

Here is a picture of the wiring diagram that I did in powerpoint. It's not as intimidating as it looks and is pretty simple.


Once all the connections are in place then you can plug in the mains and program the timer.
My settings are as follows.
F1 20.5 Temperature that you want
F2 0.5 Temperature variation
F3 5 cooling delay start in minutes
F4 0 calibration adjustment
You can then test the circuits by connecting xmas lights and holding/cooling the temperature probe. I just went for it and connected the freezer to the cooling circuit and the heating element to the heating Circuit. I used the LED's as a guide to test that each circuit was activating appropriately.
below are some pictures of the finished item


Here is a video of the sensor in operation.
If you have the space using a
temperature controller with freezer is going to be one of the best options.
Many of the commercially available controllers are single stage (cool only) which should be fine if you are fermenting in your house. But if you ferment in your basement or garage you may need to heat as well. You can get two stage controllers that have outlets for heating and cooling elements.
Many of the commercially available controllers are single stage (cool only) which should be fine if you are fermenting in your house. But if you ferment in your basement or garage you may need to heat as well. You can get two stage controllers that have outlets for heating and cooling elements.
With the correct equipment a Two stage controller can be set up and operational in a matter of a few hours work.
You can buy the controller off eBay or Amazon I bought most of the other bits
at Lowe's. At Radio Shack you can buy a small project box,
Below you can see the technical details for the temperature controller that I bought.

There are many similar Blogs and posts that cover this kind of device and how to build a fermentation fridge. I made a few tweaks and added a couple of LED's in to the box to let me know when the cooling or heating relays were energized. this helps trouble shooting
Ceramic light fitting with a 3meter extension lead connected to the back. This plugs in to the heater circuit

Project box from Radio Shack. Two way outlet socket. Additional extension lead. and a face plate for the outlet socket all from Lowe's or Home Depot. You must remember to cut the little connection (bridge) between the live terminals on the socket or else both heating and cooling circuits will come on together all the time.

Some blogs say a light bulb is sufficient to heat up the fridge. I was a bit concerned that with a large freezer it would not be sufficient and that moisture might cause the bulb to shatter. I came across this nifty little 120 watt heating element designed for an amphibian tank. It works an absolute treat.

Sorry the picture is upside down but in this packet are a couple of 120v neon lamps also from Radio Shack.

First thing to do is to mark out the cut needed for the sockets and the temperature controller. You will also need some appropriate size holes for the sensor probe and the mains in lead.
The best way to cut the holes out is to drill a small pilot hole and then use a coping saw to follow the pencil lines as best you can. Don't worry about getting it too neat as you can hide most of the rough edges with the socket plate and there is a nice flange around the sensor housing. Additionally you can use a small file to tidy up any real nasty cuts.
The rear has the holes cut out for the sockets.
This front side I have drilled two holes for the LED's

Here is a picture of the wiring diagram that I did in powerpoint. It's not as intimidating as it looks and is pretty simple.

After all
of the cuts were made, all of the components were wired up. If you can solder all of the connections that this is the best method. In my case I used a connection block which can be bought from Lowes (the connections to the STC-1000 use set
screws so no need to solder). The outlets were
designed to be clipped in but the project box was too thick for the
clips so I trimmed the clips and glued the outlets in
place.
Below you can see the heating element mounted in the fridge and side by side with some beer :-)


My settings are as follows.
F1 20.5 Temperature that you want
F2 0.5 Temperature variation
F3 5 cooling delay start in minutes
F4 0 calibration adjustment
You can then test the circuits by connecting xmas lights and holding/cooling the temperature probe. I just went for it and connected the freezer to the cooling circuit and the heating element to the heating Circuit. I used the LED's as a guide to test that each circuit was activating appropriately.
below are some pictures of the finished item


Here is a video of the sensor in operation.
Sunday, March 4, 2012
How to build a Keezer in a few hours
I did a bit of research before setting out on this project and I came across several variations on how do do this.
Some of them were over complicated. The version I ended up doing was similar to another I found but with just a few tweaks.
It is very simple and can take as little as 2 hours to convert a Freezer in to a Keezer.
There are two main things to consider when building one ( apart from how much beer you want to keep in there) and they are how to keep the temperature constant and how not to destroy the freezer in the process of conversion. There are many coolant lines in the skins of the freezer so you can't puncture or pierce holes in the sides.
In order to over come the second of these problems you need to build a collar for the freezer. This collar adds extra headroom for kegs inside and allows you to put taps/lines and probes in to the freezer without puncturing the freezer walls.
You can create a collar that hinges which will help lifting kegs in and out, or you can create a fixed collar. We opted for the fixed collar which is easier to build and I kind of figured lifting a keg an extra few inches won't hurt.
To start with you need some wood for the inner collar 4 x 1 and some wood for the outer collar 6 x 1 We used pine as our keezers are not going to be on display anywhere but if you want a fancy finish you can choose what ever wood or finish you like for the outside.
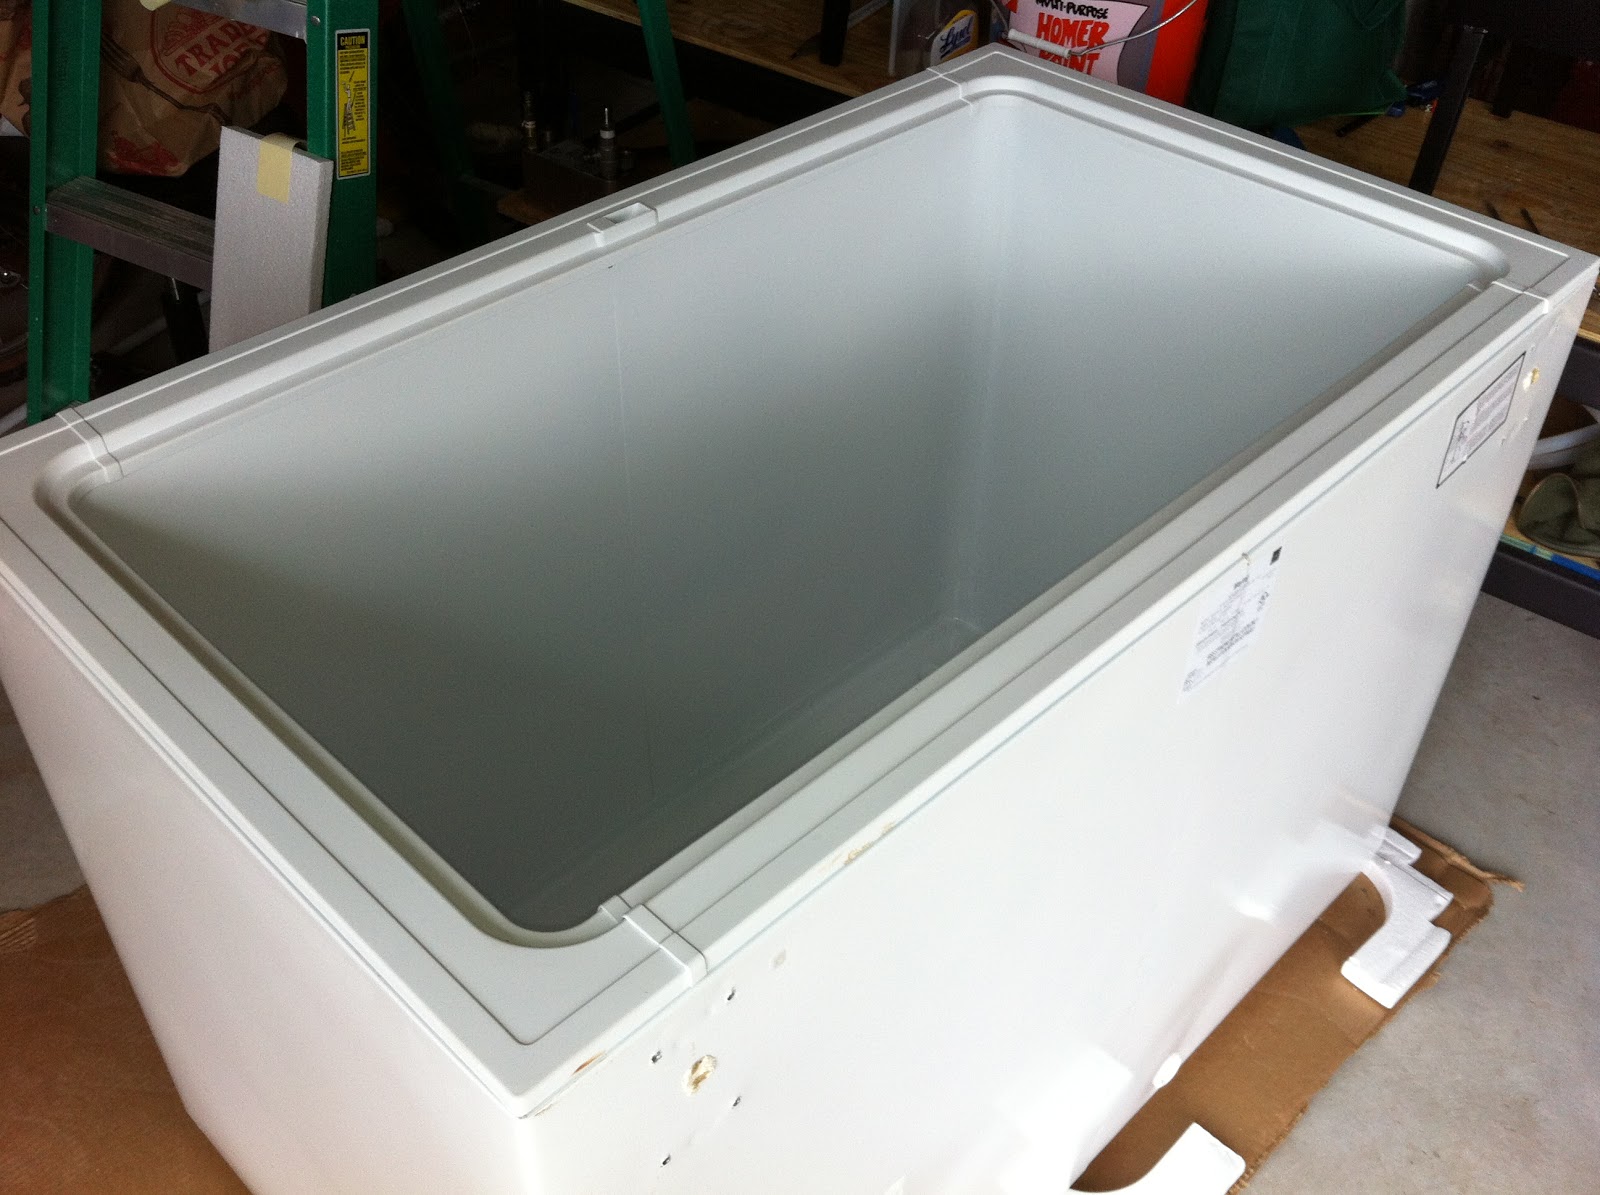
Step 1) Remove the Freezer lid.


Step 2) Cut the wood to size. What we want to achieve here is the inner collar sits on top of the freezer and comes perfectly flush with the edge of the freezer. The inner collar is a 4 sided box basically made from the 4 x1 wood.

Step 3) Cut the outer collar to size. The outer collar only needs to be on the sides and the front of the freezer. Not the back. The outer collar forms a 2 inch overlap around the edge of the freezer and holds the collar in place. To get really neat joints I recommend a mitre saw.

Step 4) Glue with wood glue or no nails the inner and outer collar pieces together. Use clamps to ensure the wood is secured and let dry before continuing.

Step 5) Take the glued pieces and form the box. Secure the edges together using 90 degree right angle brackets and screws. Also it does not harm in adding a little no nails to the joint for extra stability.


Step 6) Using rubber door sealer ( can be bought from any DIY store) cover the bottom of the inner collar ( the bit that is going to rest on the freezer itself ) completely and take care to carefully mitre the edges and leave no gaps as in the picture below.

Your collar is now almost complete. The pictures below give a good idea of what the collar should look like on and off the freezer.


Step 7) The next step is to simply add some insulation to keep the cold air in. We used 1 inch thick hard polystyrene insulation for this and simply used screws and washers to secure it to the collar.

Step 8) The collar can now be sanded down and painted/varnished or finished in whatever way you like.
Step 9)Screw the Freezer lid back on to the collar, making sure it fits snuggly and securely. Checking it opens and closes correctly
Step 10) Now we have to make sure that the temperature can be controlled because you don't actually want the beer to freeze right? We installed a Johnsons controls A419 temperature control unit. These units sit inline with the freezers power and turn the freezer on and off within a preset temperature range. They are very effective and well worth the money. They can be bought on amazon for about $70.
we simply wired them up and mounted them on the side of the collar. We drilled a small hole in the side to insert the temperature probe in to the freezer.
 For carbing beer you'll need to set the temperature to about 35-36. To serve the beer simply up the temperature to whatever temp you like to serve your beer at.
Here is one I completed earlier :-)

Now all you need to do is siphon your beer in to the keg, connect the gas and let it chill ready to serve.


At this stage we have not installed any taps or a tower directly in to the Keezer. We simply have a small length of hose and a valve at the end to serve the beer. However taps are coming so check back in a few weeks and I might have this done by then.
Some of them were over complicated. The version I ended up doing was similar to another I found but with just a few tweaks.
It is very simple and can take as little as 2 hours to convert a Freezer in to a Keezer.
There are two main things to consider when building one ( apart from how much beer you want to keep in there) and they are how to keep the temperature constant and how not to destroy the freezer in the process of conversion. There are many coolant lines in the skins of the freezer so you can't puncture or pierce holes in the sides.
In order to over come the second of these problems you need to build a collar for the freezer. This collar adds extra headroom for kegs inside and allows you to put taps/lines and probes in to the freezer without puncturing the freezer walls.
You can create a collar that hinges which will help lifting kegs in and out, or you can create a fixed collar. We opted for the fixed collar which is easier to build and I kind of figured lifting a keg an extra few inches won't hurt.
To start with you need some wood for the inner collar 4 x 1 and some wood for the outer collar 6 x 1 We used pine as our keezers are not going to be on display anywhere but if you want a fancy finish you can choose what ever wood or finish you like for the outside.
Step 1) Remove the Freezer lid.

Step 2) Cut the wood to size. What we want to achieve here is the inner collar sits on top of the freezer and comes perfectly flush with the edge of the freezer. The inner collar is a 4 sided box basically made from the 4 x1 wood.

Step 3) Cut the outer collar to size. The outer collar only needs to be on the sides and the front of the freezer. Not the back. The outer collar forms a 2 inch overlap around the edge of the freezer and holds the collar in place. To get really neat joints I recommend a mitre saw.

Step 4) Glue with wood glue or no nails the inner and outer collar pieces together. Use clamps to ensure the wood is secured and let dry before continuing.

Step 5) Take the glued pieces and form the box. Secure the edges together using 90 degree right angle brackets and screws. Also it does not harm in adding a little no nails to the joint for extra stability.


Step 6) Using rubber door sealer ( can be bought from any DIY store) cover the bottom of the inner collar ( the bit that is going to rest on the freezer itself ) completely and take care to carefully mitre the edges and leave no gaps as in the picture below.

Your collar is now almost complete. The pictures below give a good idea of what the collar should look like on and off the freezer.


Step 7) The next step is to simply add some insulation to keep the cold air in. We used 1 inch thick hard polystyrene insulation for this and simply used screws and washers to secure it to the collar.

Step 8) The collar can now be sanded down and painted/varnished or finished in whatever way you like.
Step 9)Screw the Freezer lid back on to the collar, making sure it fits snuggly and securely. Checking it opens and closes correctly
Step 10) Now we have to make sure that the temperature can be controlled because you don't actually want the beer to freeze right? We installed a Johnsons controls A419 temperature control unit. These units sit inline with the freezers power and turn the freezer on and off within a preset temperature range. They are very effective and well worth the money. They can be bought on amazon for about $70.
we simply wired them up and mounted them on the side of the collar. We drilled a small hole in the side to insert the temperature probe in to the freezer.

Here is one I completed earlier :-)

Now all you need to do is siphon your beer in to the keg, connect the gas and let it chill ready to serve.


At this stage we have not installed any taps or a tower directly in to the Keezer. We simply have a small length of hose and a valve at the end to serve the beer. However taps are coming so check back in a few weeks and I might have this done by then.
Subscribe to:
Posts (Atom)